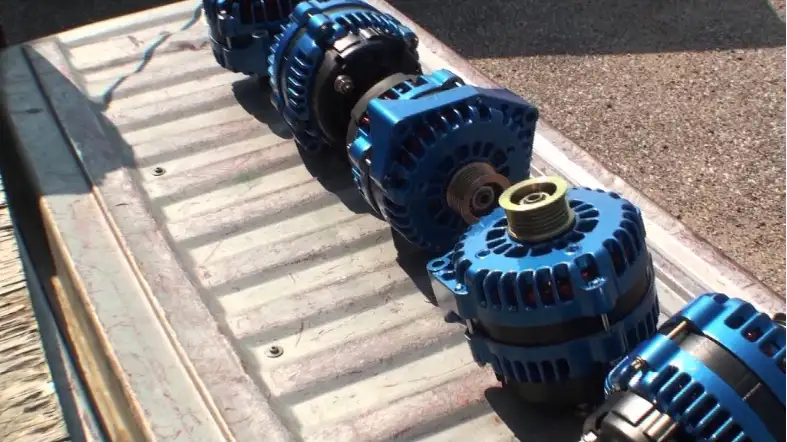
Painting an alternator is a great way to improve the look of your engine bay and protect the alternator from corrosion.
However, it’s important to follow the correct steps to ensure a high-quality finish that lasts.
In this blog post, we’ll guide you through painting an alternator, from preparation to finishing touches.
How To Paint An Alternator?
Painting an alternator requires careful preparation and attention to detail to ensure a long-lasting finish. Here are the steps to paint an alternator:

Step 1: Clean the Alternator
Before starting the process, it’s essential to clean the alternator thoroughly.
Use a degreaser or brake cleaner to remove any oil or dirt from the surface. Use a cloth or brush to wipe it clean and ensure it’s free of any debris.
Step 2: Sand the Surface
Use sandpaper to sand the surface of the alternator. Start with a coarse grit sandpaper and gradually move towards a finer grit.
This will help remove any rust, old paint, or imperfections on the surface.
Step 3: Apply Primer
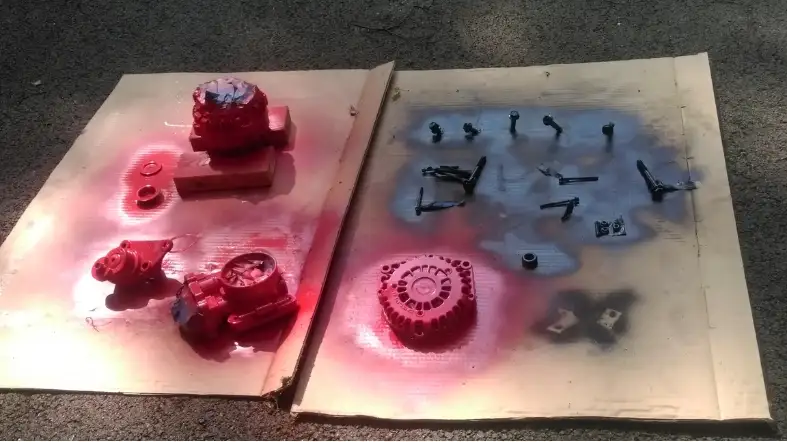
Once the surface is sanded, apply a high-quality primer to the alternator.
This will help the paint adhere better to the surface and provide a smooth base for the paint.
Ensure that the primer is evenly spread and allow it to dry completely before proceeding to the next step.
Step 4: Apply Paint
Choose a high-quality paint that’s suitable for use on metal surfaces.
Apply thin coats of paint, ensuring that each coat is allowed to dry before the next is applied.
Avoid applying too much paint at once, as this can cause the paint to run or drip.
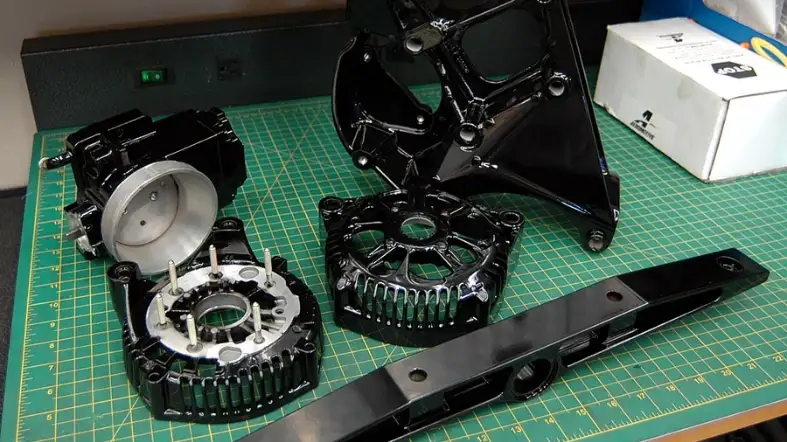
Step 5: Apply Clear Coat
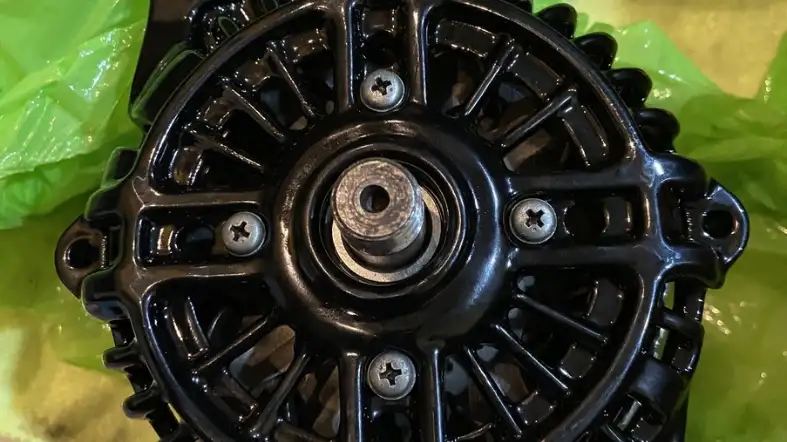
Once the paint is dry, apply a clear coat to protect the surface and give it a glossy finish.
Ensure that the clear coat is applied evenly and allowed to dry completely before handling the alternator.
Step 6: Reinstall the Alternator
After the clear coat is dry, reassemble the alternator and reinstall it in your vehicle. Take care not to damage the finish during the installation process.
Spray Painting Your Alternator: Dos and Don’ts

Before you start, there are some important dos and don’ts you need to keep in mind to ensure a successful outcome.
Do’s:
Properly Prepare Your Alternator
The first and most important step in spray painting your alternator is to prepare it properly.
This means thoroughly cleaning the surface with a degreaser and removing any rust or other imperfections with sandpaper or a wire brush. Additionally, you’ll want to cover any electrical connections with tape or plastic to protect them from the paint.
Use High-Temperature Paint
Alternators can get quite hot during operation, so it’s important to use a high-temperature paint that can withstand the heat.
Look for paints specifically designed for engine components or high-temperature applications.
These paints are typically formulated to withstand temperatures up to 500 degrees Fahrenheit or more, ensuring that the paint won’t flake or peel off.
Apply the Paint in Thin Coats
When applying the paint, it’s important to do so in thin, even coats. This helps to ensure that the paint doesn’t run or drip and allows each coat to dry properly before adding another.
You may need to apply several coats to achieve the desired level of coverage, but it’s better to take your time and do it right than to rush the process and end up with a subpar result.
Allow the Paint to Dry Completely
After applying the final coat of paint, be sure to allow it to dry completely before reassembling your alternator or starting your engine.
Depending on the type of paint you’re using and the environmental conditions, this could take anywhere from a few hours to a full day or more.
Don’ts:
Paint the Alternator While It’s Still Connected

Never attempt to spray paint your alternator while it’s still connected to your vehicle’s electrical system.
Doing so can damage the alternator and potentially even cause a fire or other safety hazard.
Always disconnect the alternator and any related wiring before beginning the painting process.
Use Ordinary Spray Paint
As we mentioned earlier, it’s important to use a high-temperature paint that can withstand the heat generated by your alternator.
Ordinary spray paint is not designed for this purpose and will quickly start to peel and flake off once the alternator heats up.
Don’t take shortcuts by using the wrong type of paint – it’s not worth the risk.
Neglect Safety Precautions
Spray painting can be hazardous if proper safety precautions aren’t taken.
Be sure to work in a well-ventilated area to avoid inhaling fumes, wear a respirator mask and safety goggles, and keep a fire extinguisher handy just in case.
Rush the Process
Finally, don’t rush the process of spray painting your alternator. Take your time to properly clean, prepare, and paint the surface, and allow each coat to dry completely before adding another.
Rushing the process is a recipe for disaster and can lead to a poor-quality finish that won’t last.
Painting Your Alternator: Common Mistakes to Avoid
Mistake 1: Not Preparing the Alternator Properly
Before you begin painting your alternator, it is essential to prepare it properly.
This means cleaning it thoroughly to remove any grease, oil, or dirt that may be on the surface.
You should also sand the alternator lightly to ensure that the paint adheres properly.
Mistake 2: Choosing the Wrong Type of Paint
Another common mistake is choosing the wrong type of paint for your alternator.
You should always use high-temperature paint that is designed for use on engines and other high-heat applications.
Regular spray paint can lead to chipping, cracking, and peeling, ultimately damaging your alternator.
Mistake 3: Not Applying the Paint Properly
Applying the paint too thickly or too thinly is another mistake that people make when painting their alternators.
To avoid this, it is essential to apply the paint in thin, even coats. This will help to ensure that the paint dries evenly and does not bubble or crack.
Mistake 4: Not Allowing the Paint to Dry Properly
Once you have applied the paint, it is essential to allow it to dry properly. Rushing this process can lead to chipping, cracking, and peeling of the paint.
It is recommended to allow the paint to dry for at least 24 hours before reassembling your engine.
Mistake 5: Not Protecting the Alternator
Finally, it is crucial to protect your alternator once it has been painted. This means using a clear coat or other protective coating to prevent chipping, cracking, and peeling.
It is also important to avoid using harsh chemicals or abrasive cleaners on your alternator, as these can damage the paint.
Adding a Personal Touch: How to Customize Your Alternator with Paint

Here’s how to achieve a professional-looking finish on your alternator:
Step 1: Clean the Alternator
Before starting the process, it’s essential to clean the alternator thoroughly. Use a degreaser or brake cleaner to remove any oil or dirt from the surface. Use a cloth or brush to wipe it clean and ensure it’s free of any debris.
Step 2: Sand the Surface
Use sandpaper to sand the surface of the alternator. Start with a coarse grit sandpaper and gradually move towards a finer grit. This will help remove any rust, old paint, or imperfections on the surface.
Step 3: Apply Primer
Once the surface is sanded, apply a high-quality primer to the alternator. This will help the paint adhere better to the surface and provide a smooth base for the paint. Ensure that the primer is evenly spread and allow it to dry completely before proceeding to the next step.
Step 4: Apply Paint
Choose a high-quality paint that’s suitable for use on metal surfaces. Apply thin coats of paint, ensuring that each coat is allowed to dry before the next is applied. Avoid applying too much paint at once, as this can cause the paint to run or drip.
Step 5: Apply Clear Coat
Once the paint is dry, apply a clear coat to protect the surface and give it a glossy finish. Ensure that the clear coat is applied evenly and allowed to dry completely before handling the alternator.
Step 6: Reinstall the Alternator
After the clear coat is dry, reassemble the alternator and reinstall it in your vehicle. Take care not to damage the finish during the installation process.
Frequently Asked Question
Q. What Type Of Paint Should I Use To Paint My Alternator?
A: For the best results, use a high-temperature engine enamel paint that can withstand the heat generated by the alternator.
Avoid using regular spray paint, as it will quickly peel and flake off.
Q. Do I Need To Remove The Alternator From The Engine To Paint It?
A: It is recommended that you remove the alternator from the engine to paint it properly.
This will give you better access to all the surfaces and ensure that you don’t accidentally spray paint on any other engine components.
Q. How Should I Prepare The Alternator Before Painting It?
A: First, clean the alternator thoroughly with a degreaser to remove any dirt, oil, or grease.
Then, sand the surface lightly to create a rough surface that the paint can adhere to.
Finally, wipe it down with a clean cloth to remove any dust or debris.
Q. Can I Paint The Alternator While It’s Still Hot?
A: No, it is important to let the alternator cool down completely before painting it.
Painting a hot alternator can cause the paint to bubble and peel off.
Q. How Many Coats Of Paint Should I Apply?
A: Apply two to three thin coats of paint, allowing each coat to dry completely before applying the next. This will ensure a smooth and even finish.
Q. Should I Use A Primer Before Painting The Alternator?
A: It is not necessary to use a primer, but it can help the paint adhere better and last longer.
If you choose to use a primer, make sure it is compatible with the engine enamel paint you plan to use.
Q. How Long Should I Let The Paint Dry Before Re-Installing The Alternator?
A: It is recommended that you let the paint dry for at least 24 hours before re-installing the alternator.
This will give the paint time to cure and harden, ensuring that it doesn’t scratch or chip when you handle the alternator.
Conclusion:
Painting your alternator may seem daunting, but with the right tools and techniques, it can be a straightforward process that produces great results.
Remember to take your time, follow the steps carefully, and use high-quality materials for the best possible outcome.
With a little patience and effort, you can transform your alternator into a beautiful and functional part of your engine bay.
